The job starts with measurements and a plan
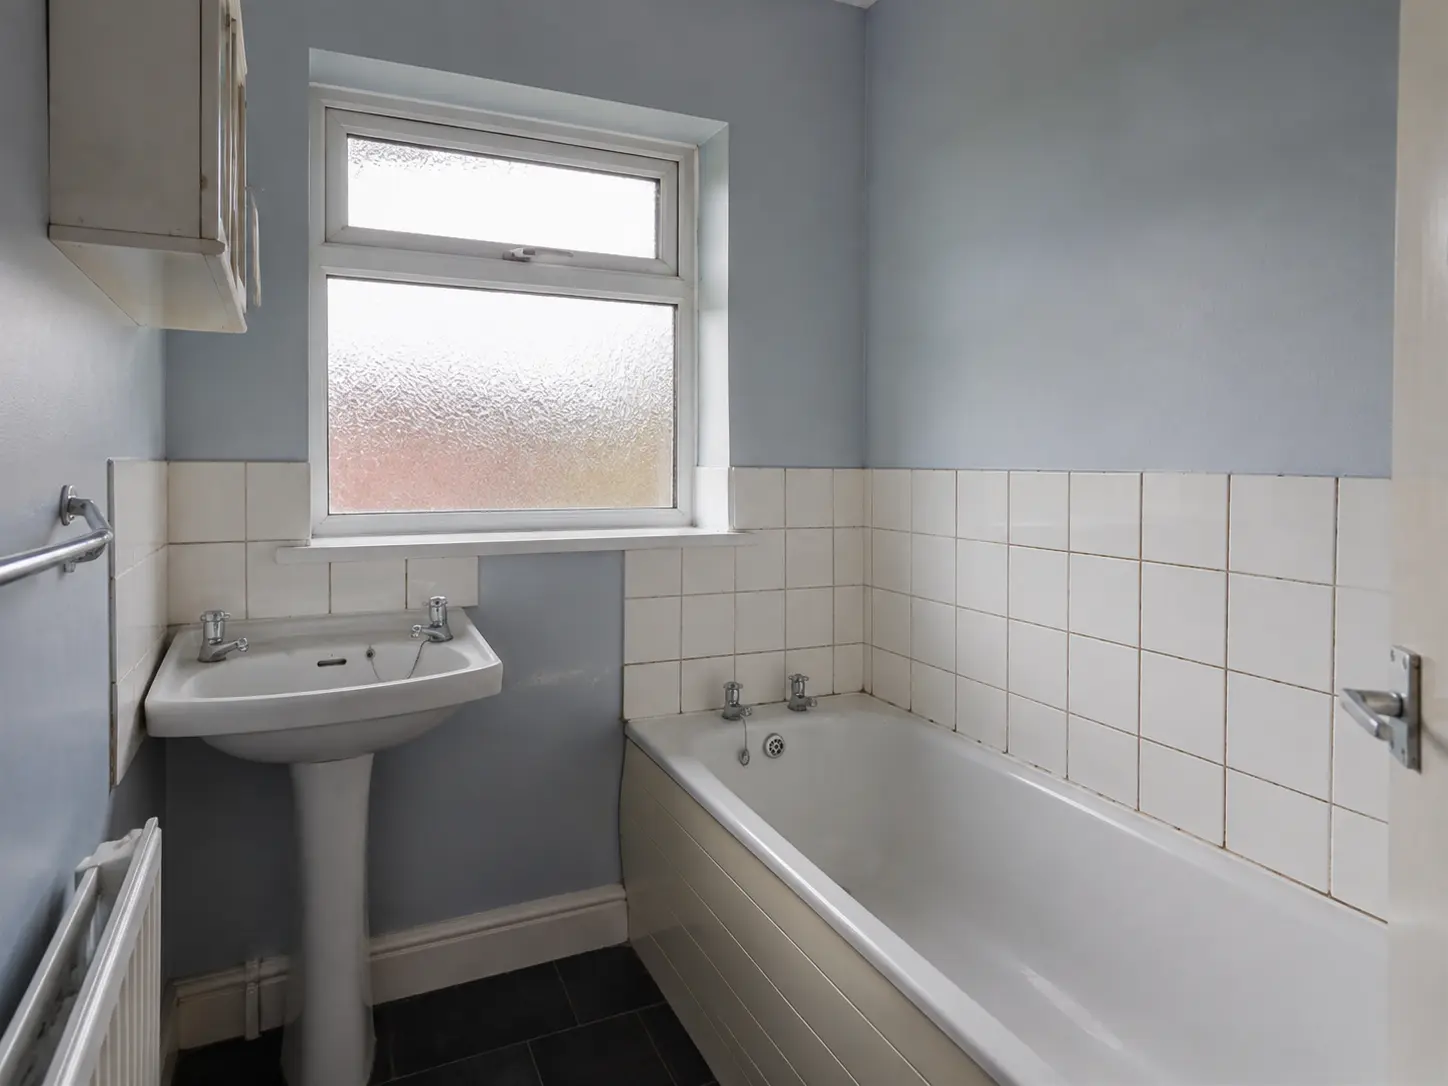
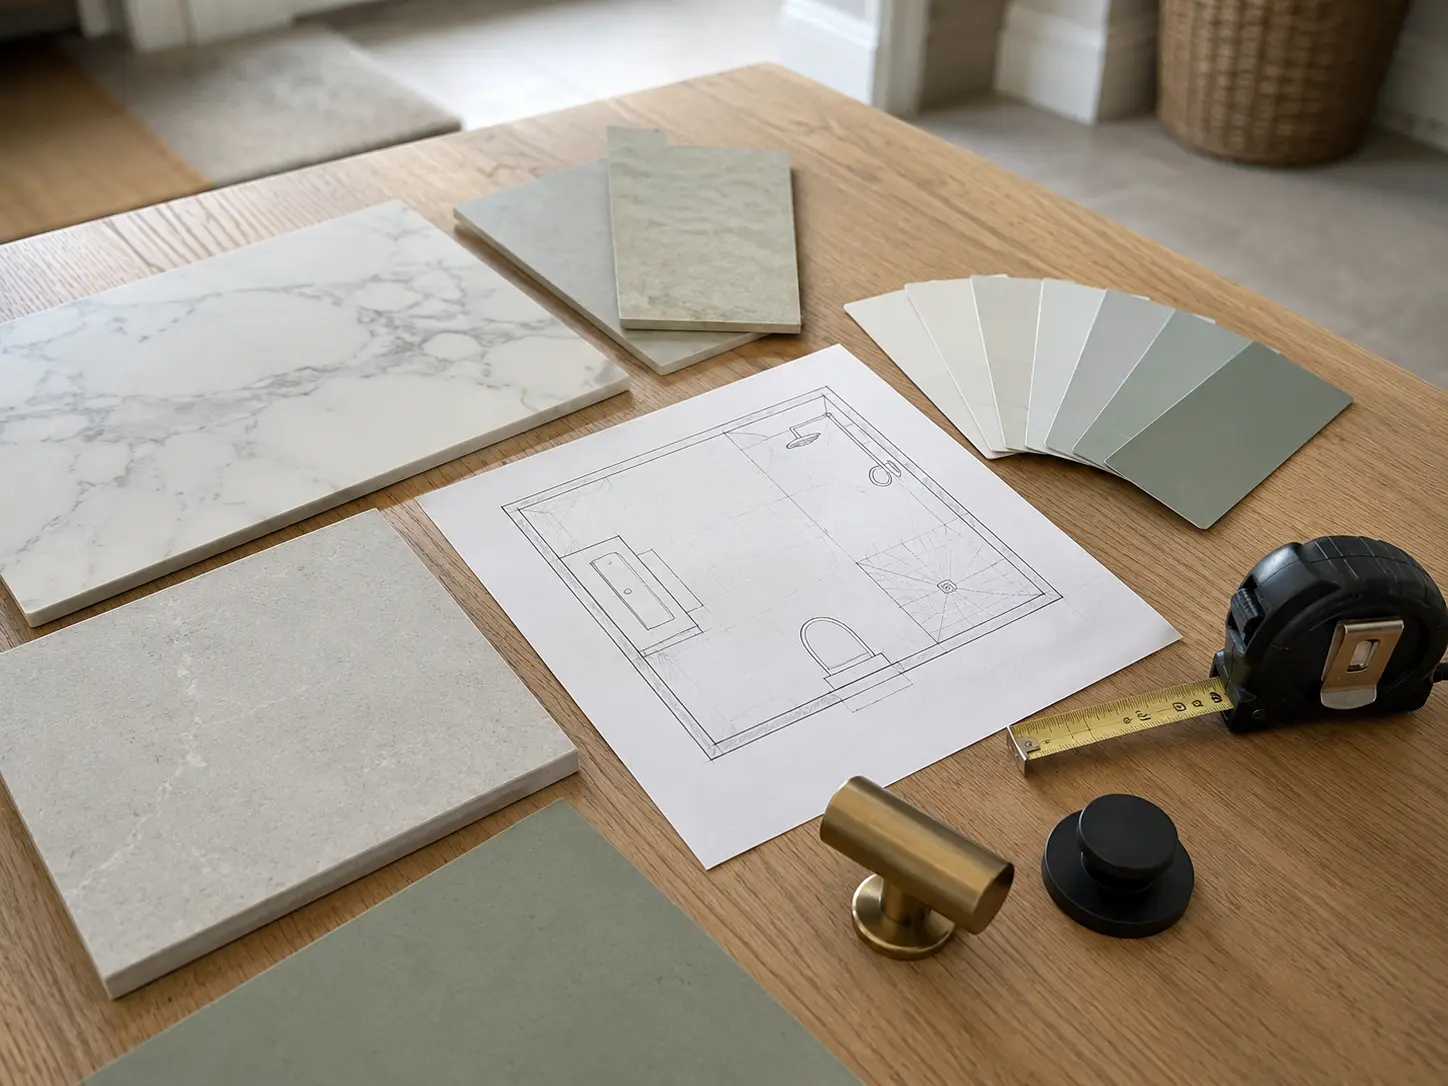
Wet wall installation begins with the room and the fittings that will remain in it. The installer measures the walls, corners, openings and access, then plans the boards around the bath, shower, basin and furniture. The chosen panel system determines the fitting method. This guide explains what a homeowner can expect, rather than giving a cutting or sealing method for every product. Ask for the exact range and the agreed work in the quote so both sides know which instructions and finished details the installation will follow.
Agree protection and bathroom downtime
Before work begins, discuss the route for deliveries, tools and waste. Floors and shared access areas may need protection, and large boards need enough space through stairs and doorways. Explain whether the room is your only bathroom. Ask when the toilet, basin and shower will be unavailable and what facilities can remain safely in use. The schedule should account for preparation and drying as well as fitting the visible panels. Keep personal items out of the work area and agree where materials will be stored without blocking everyday access.
Remove only what has been agreed
Some projects involve taking out the entire bathroom, while others replace a shower surround and retain suitable fittings. The quote should identify the removal work and who deals with waste. Once old surfaces come off, their condition may differ from what was visible at the visit. Ask for any newly discovered damage to be explained before additional repairs are carried out. Record agreed changes to price or timing. This keeps the work clear and avoids treating an uncertain wall condition as a promise that no repairs will be needed.
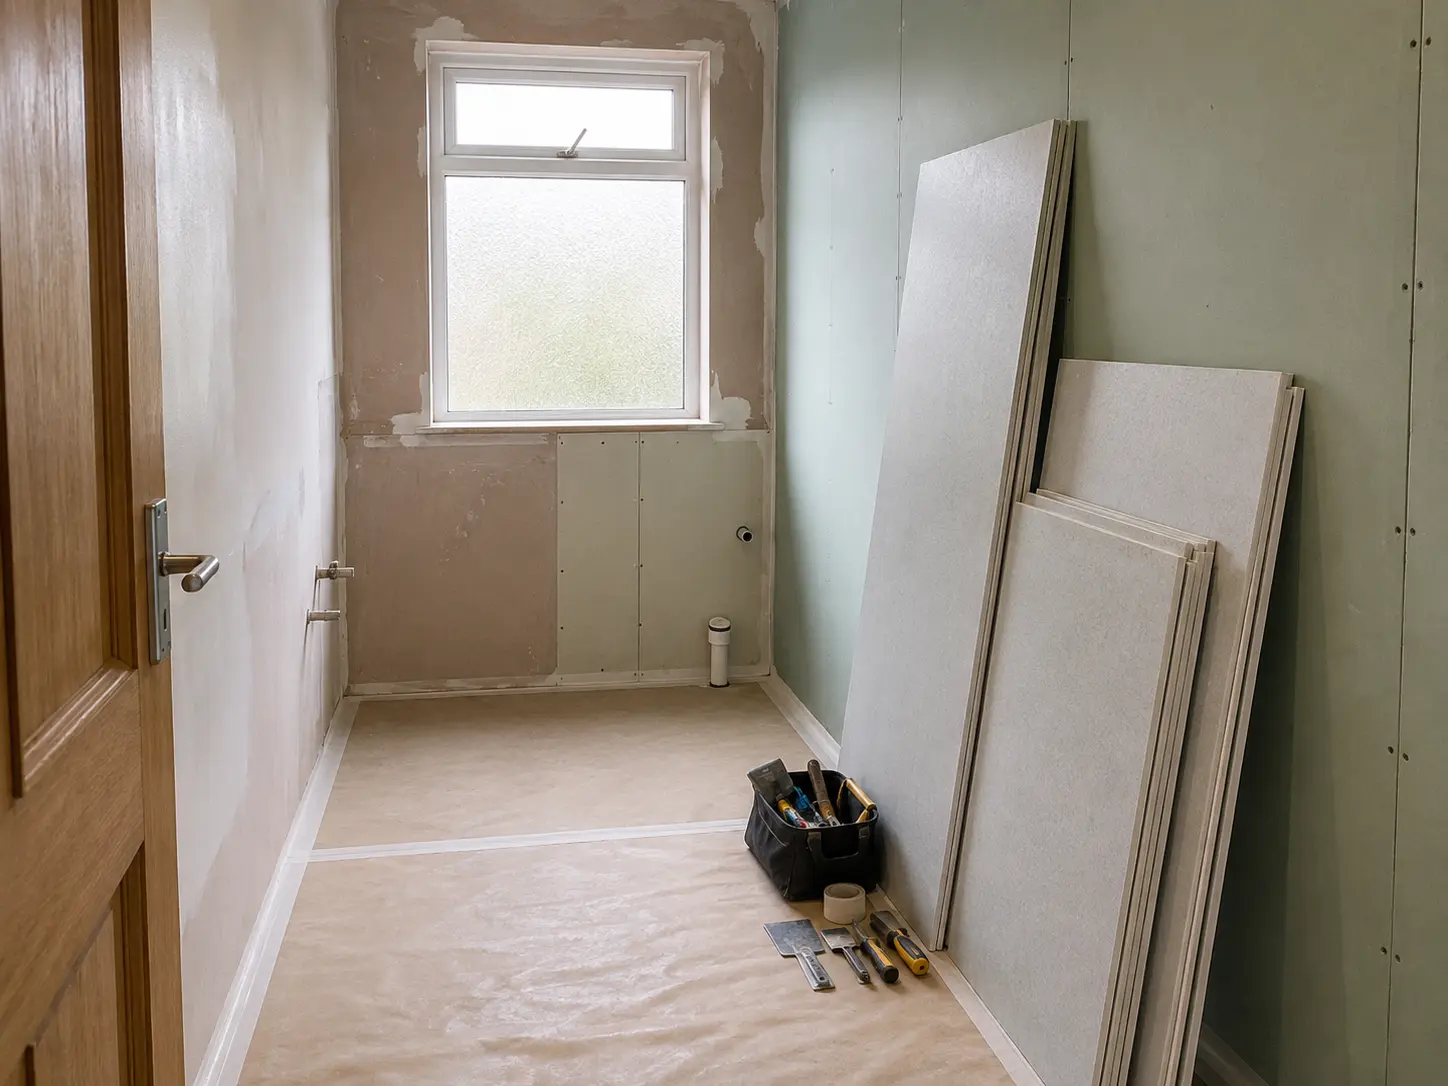
Prepare the wall for the chosen panels
The wall must meet the selected system's requirements before boards are attached. Loose material, movement and moisture problems need attention. The installer may need to repair or replace parts of the backing surface, depending on what is found. A panel should not conceal an active leak. Ask which preparation is already included and how the repaired areas will be checked. Drying or other waiting periods depend on the actual products used. Rushing to cover a wall can leave the important part of the installation hidden before it is ready.
For help with your room, see our Wet Wall Installation service.
Set out the boards before final fitting
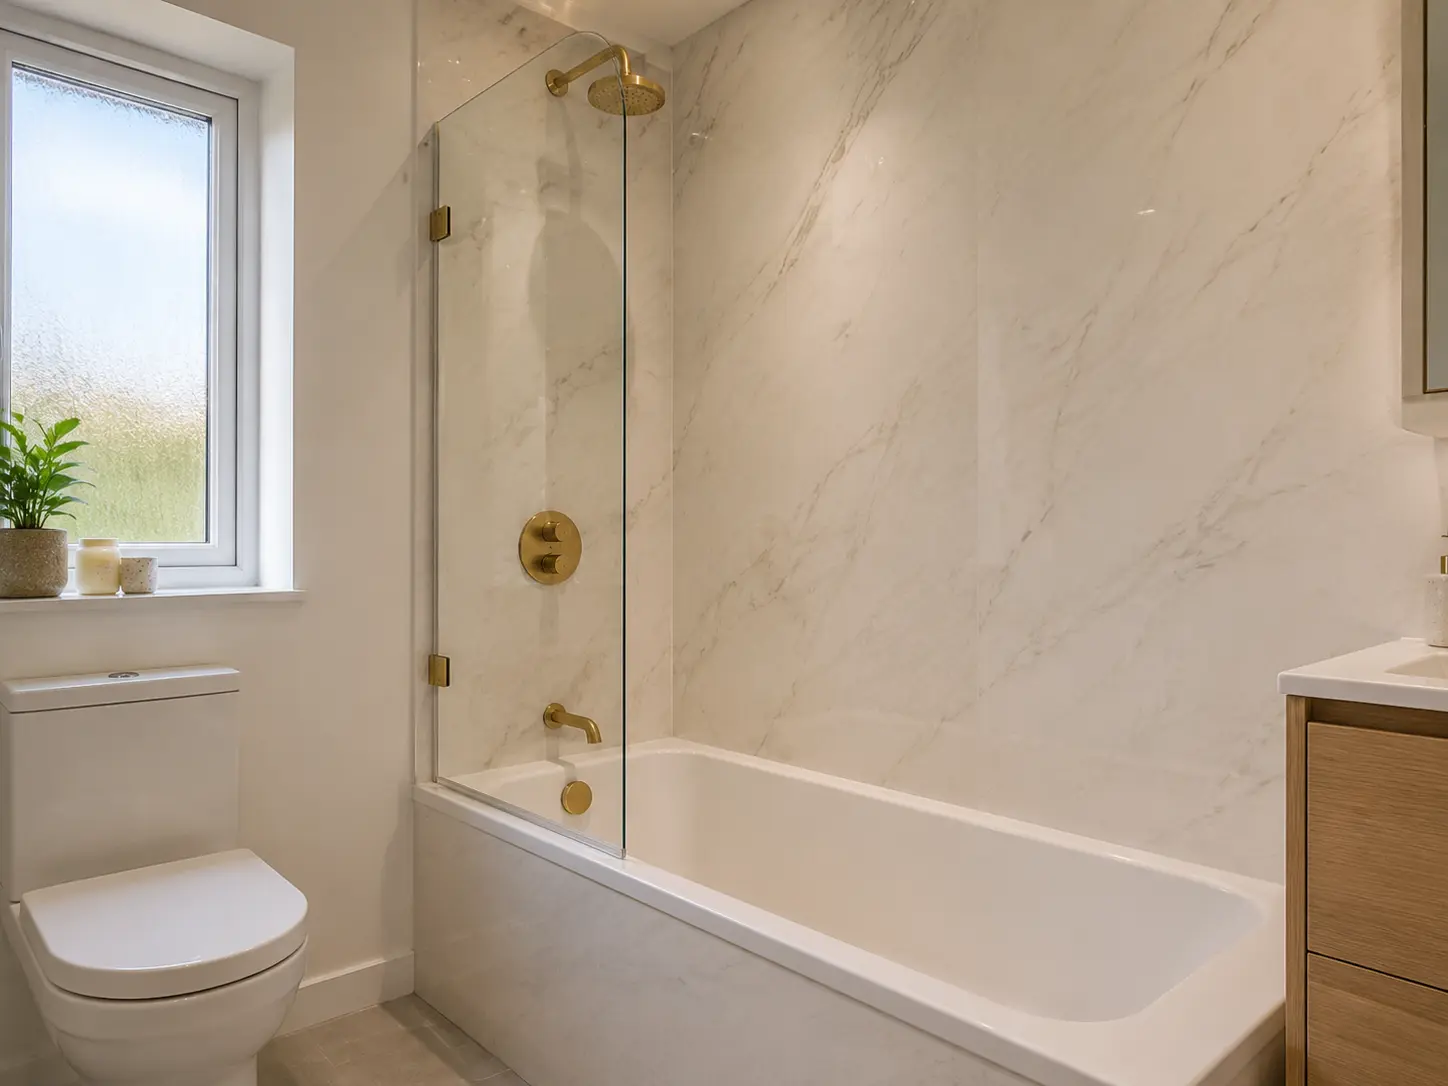
The board layout determines where patterns, joints and cut edges appear. Strong marble veins or printed tile grids need viewing across the whole wall, especially beside windows and corners. The installer checks the fit around controls, screens and furniture before making final openings. This is also the time to confirm any shelves, built-in wall storage or support fittings in the plan. Changes after panels have been cut can require extra material or work. Ask to understand the intended layout before fitting starts if there are details you particularly want to keep aligned.
Fit using one complete system
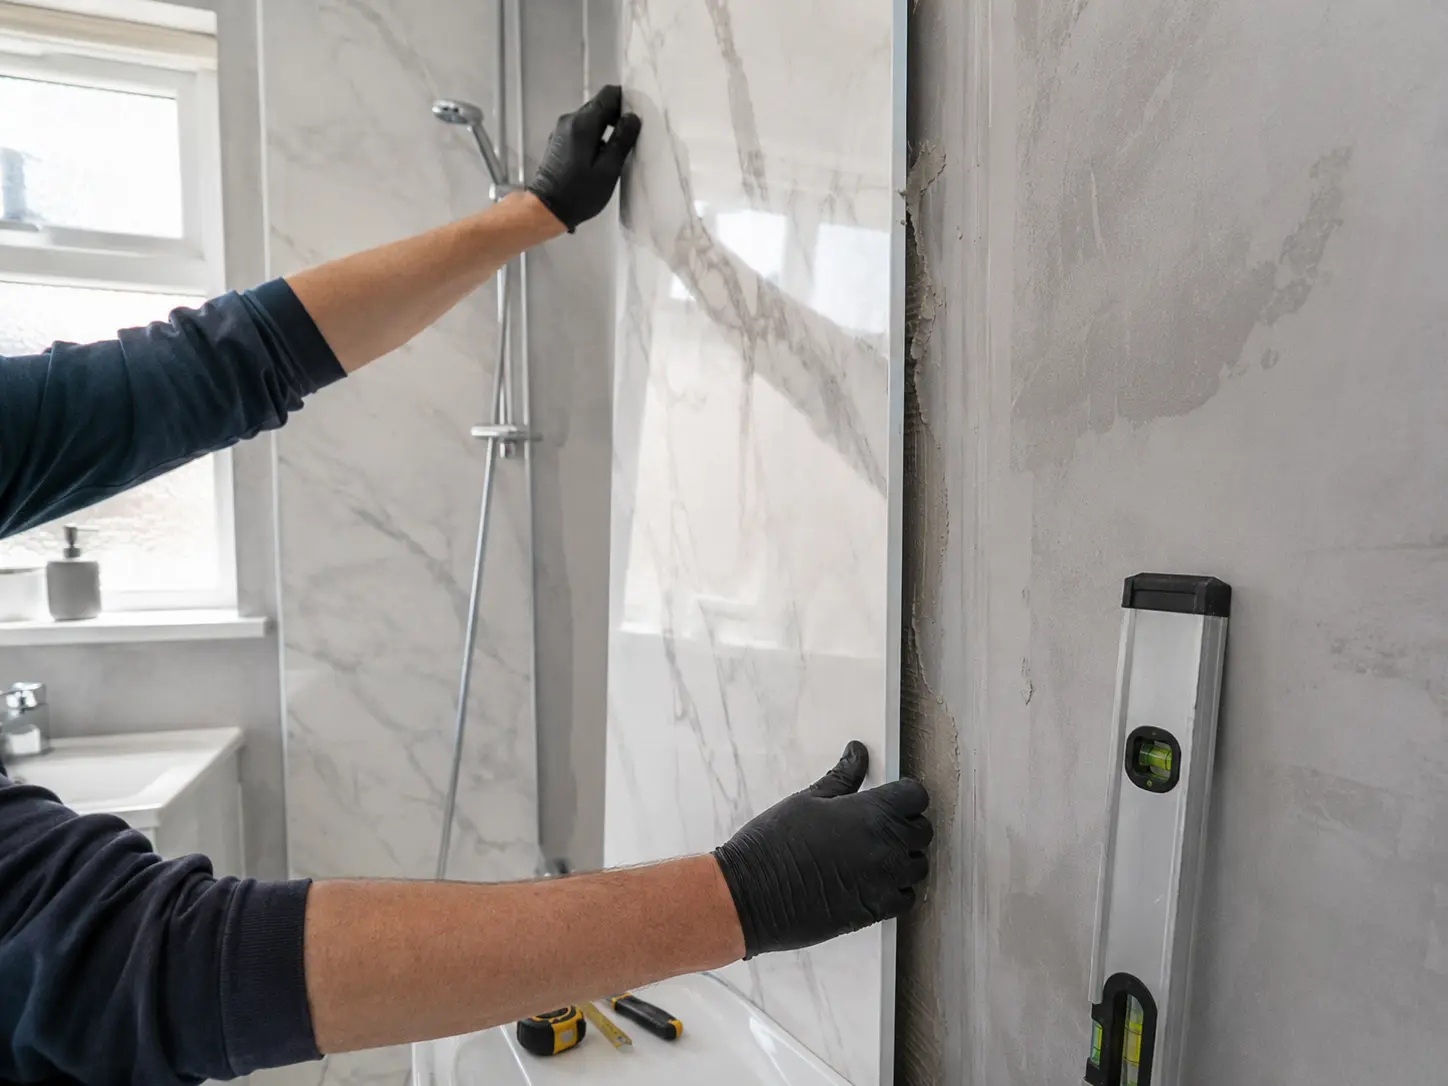
The boards, adhesive, joining strips and sealants need to work together as the manufacturer specifies. Products from different ranges are not interchangeable simply because their labels use similar words. The installer follows the details for corners, exposed edges, pipe openings and the join to the bath or tray. Some parts of the work become hidden as the room is assembled, which is why the fitting method should be clear beforehand. Keep the product information with the quote so any later care or repair discussion refers to the installed system.
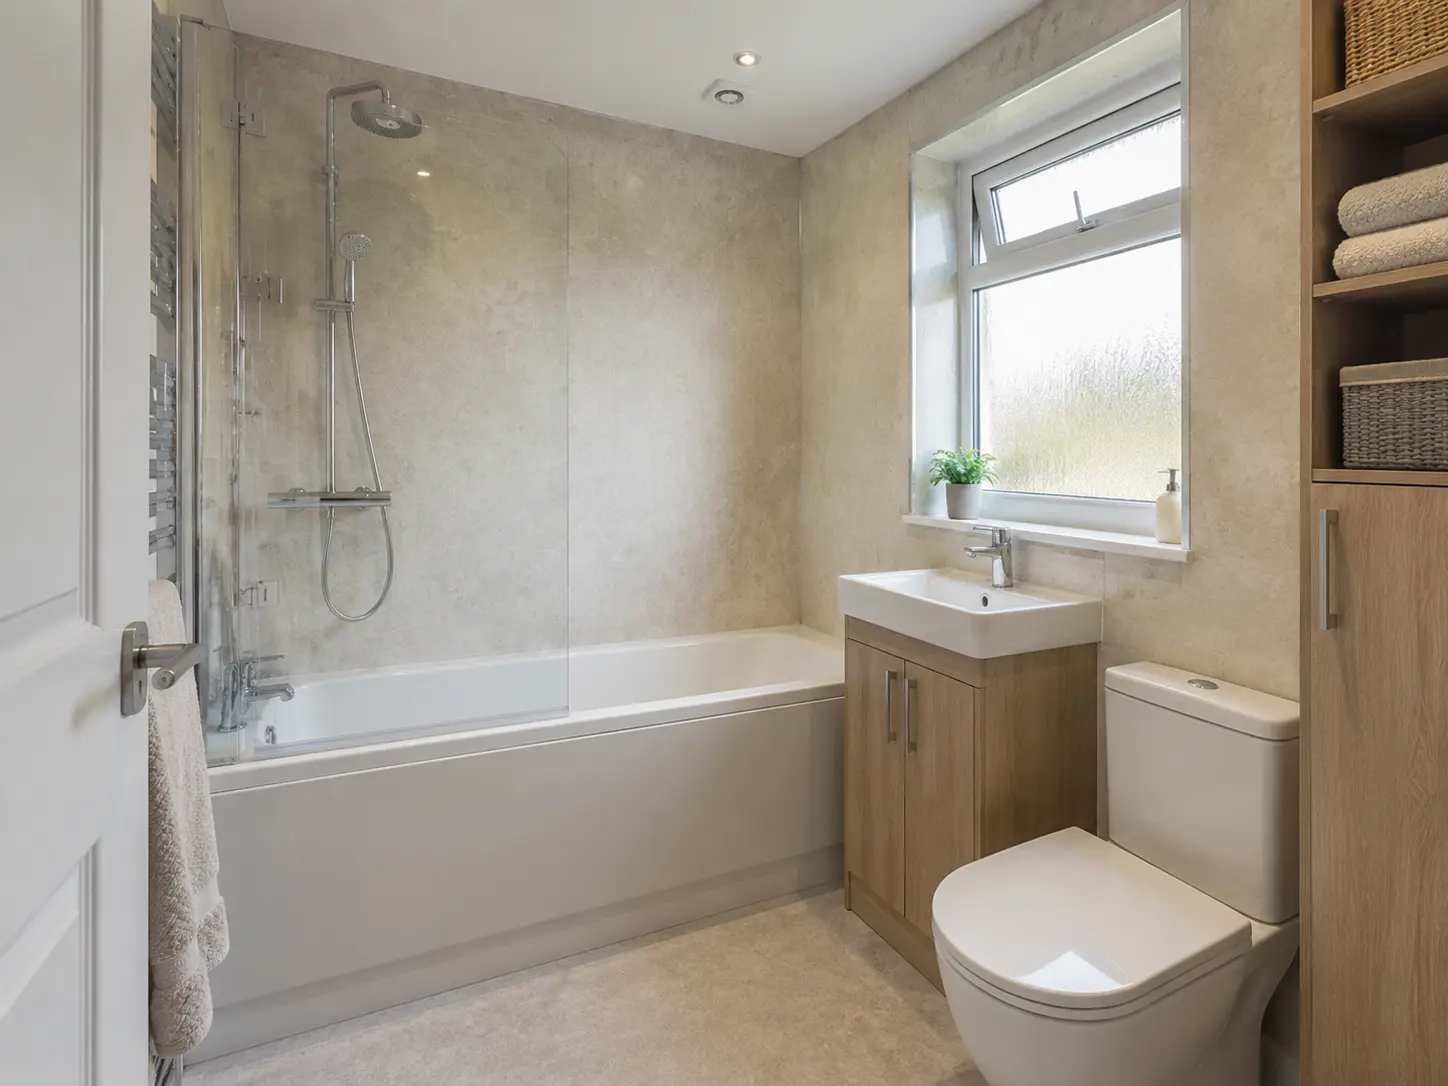
Attach fittings and finish the connections
Screens, controls, mirrors and storage are fitted or refitted as agreed. Fixings must suit the wall structure and the item being supported, with openings treated according to the panel instructions. A shower seat or support rail needs particular attention to secure support; the decorative panel face alone is not enough. Check that doors and drawers open and that controls can be reached comfortably. If a fitting has changed from the original choice, confirm that the replacement still suits the measured layout before accepting the finished arrangement.
Allow the required time before showering
The room may look finished before all products are ready for water or regular use. Ask the installer to state when the shower or bath can be used and whether any cleaning restrictions apply at first. Use the actual adhesive and sealant guidance rather than a general internet timescale. Check the visible joins, edges and fittings together at handover. Raise any gap, unfinished trim or damaged item while the work can be discussed clearly. Keep a record of anything that remains to be completed and the agreed next step.
Keep the care and fitting records
At the end, keep the panel name, colour reference, cleaning instructions, quote and any written guarantee. Know how to report a problem and how concealed plumbing can be reached if required. Routine cleaning should include looking at visible seals and edges for changes. For a Hamilton installation enquiry, describe whether you need shower-only panels or a complete bathroom and give your postcode. A room visit can then establish the products, preparation and fitting work before a date is arranged. No standard schedule replaces checking the bathroom that is actually being fitted.