Panels are one part of the shower design
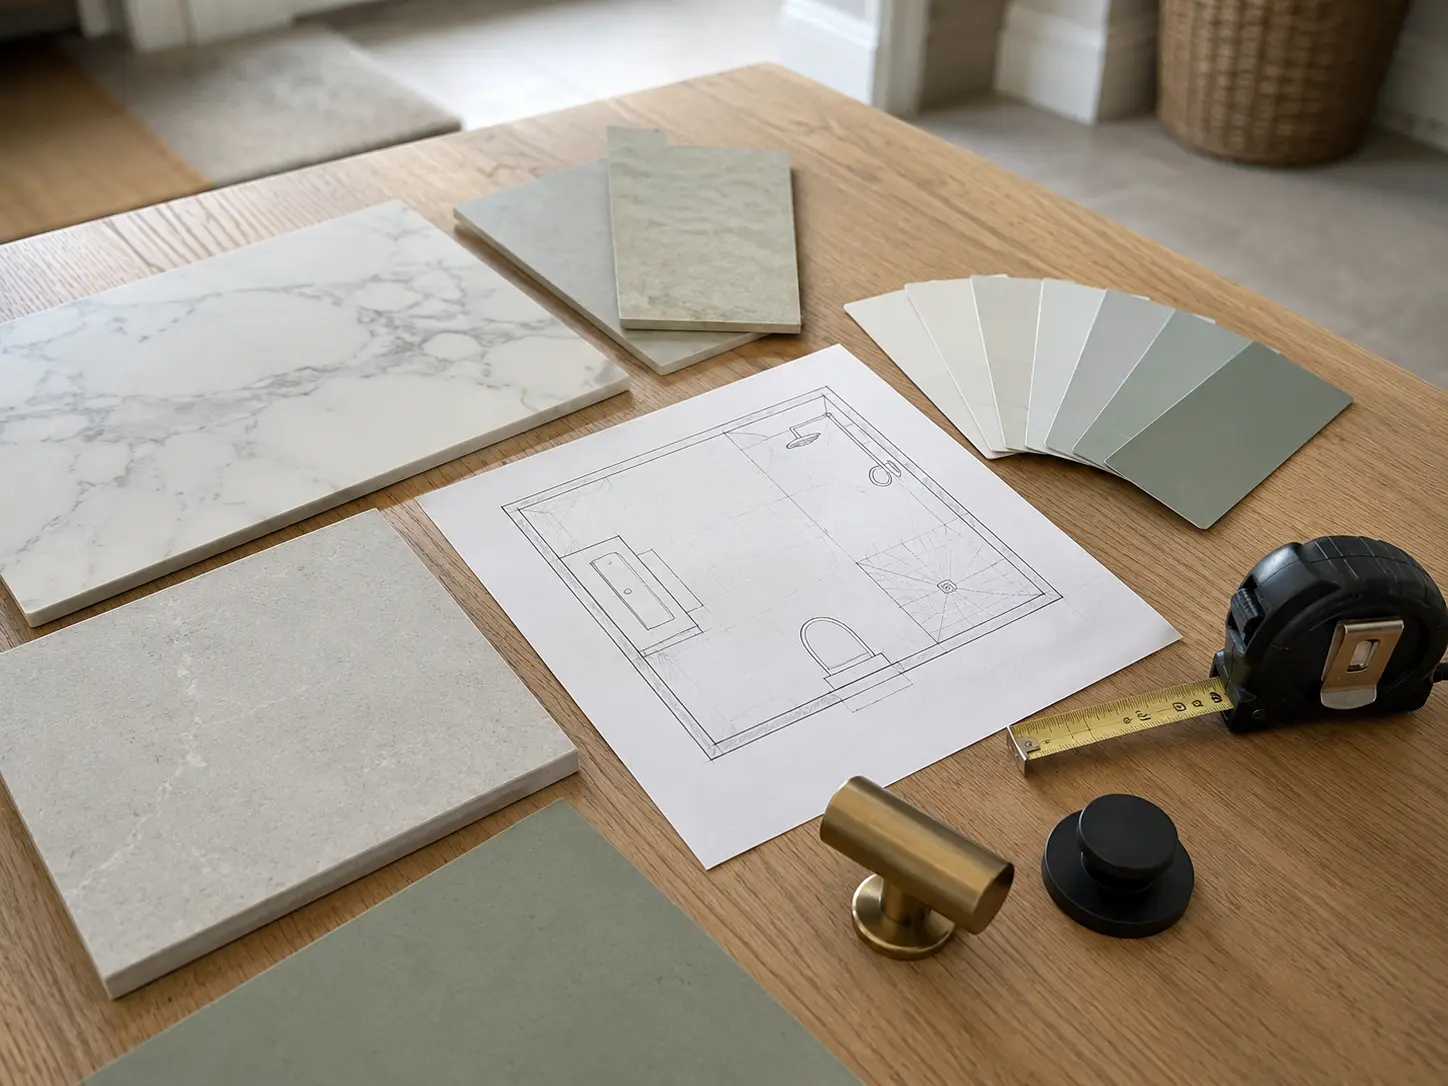
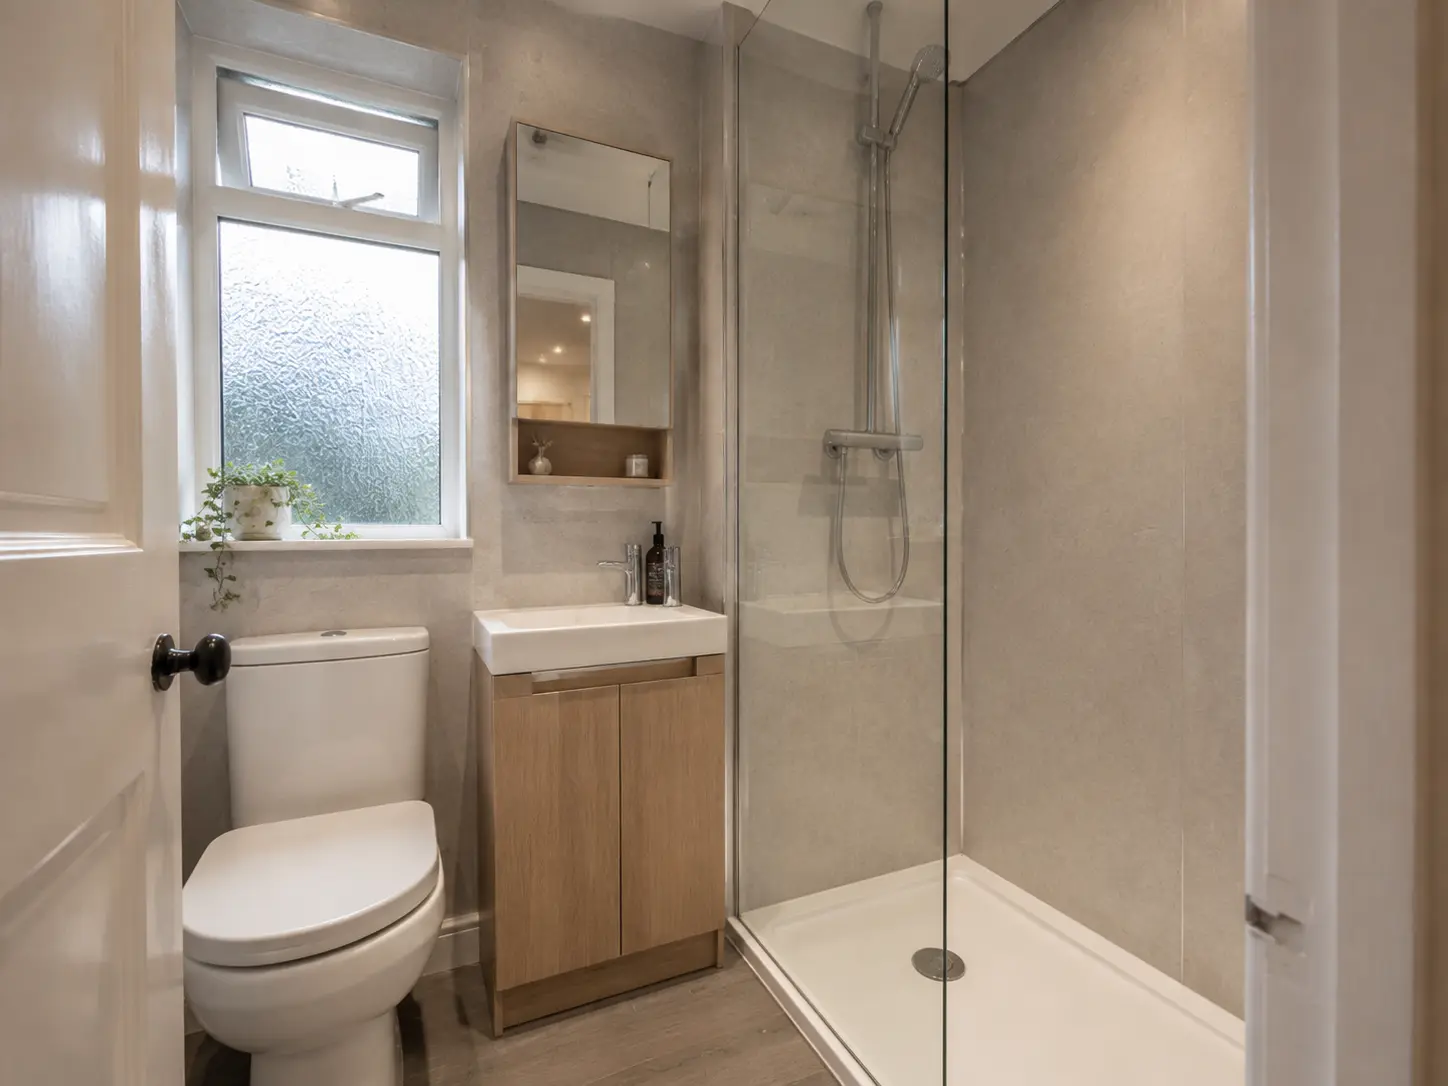
A walk-in shower needs the tray or floor, drain, screen, controls and wall finish planned together. Wall panels can provide an easy-clean surface around it, but they do not decide whether the entrance is comfortable or whether spray stays inside. Start by explaining who uses the shower and what is difficult about the current arrangement. Measure the available space before choosing a screen from a photograph. The selected panels must suit the wet area and be fitted with the correct joins, edges and openings for that system.
Check the entrance after the glass is positioned
The useful opening is the space left once the tray, screen and other fittings are in place. A long tray can still have an awkward entrance if furniture or a door blocks the approach. Ask to see the measured layout with the screen included. Think about stepping in, reaching the controls and leaving the shower without knocking into the basin. If someone needs assistance, include the necessary space in that discussion. The word walk-in describes a layout; it does not confirm that every installation suits every person's access needs.
Know the finished tray or floor height
A low-profile tray is not always level with the bathroom floor once fitted. Its final height depends on the product, floor and drainage arrangement. A fully level shower area can require different preparation and waterproofing. Ask the installer to explain the actual entrance height before products are ordered. Do not assume that replacing a bath with a large tray automatically removes the step. The wall-panel choice can follow once the base and drainage are understood, because the lower panel connection must work with the shower system being installed.
Place the shower and screen to contain spray
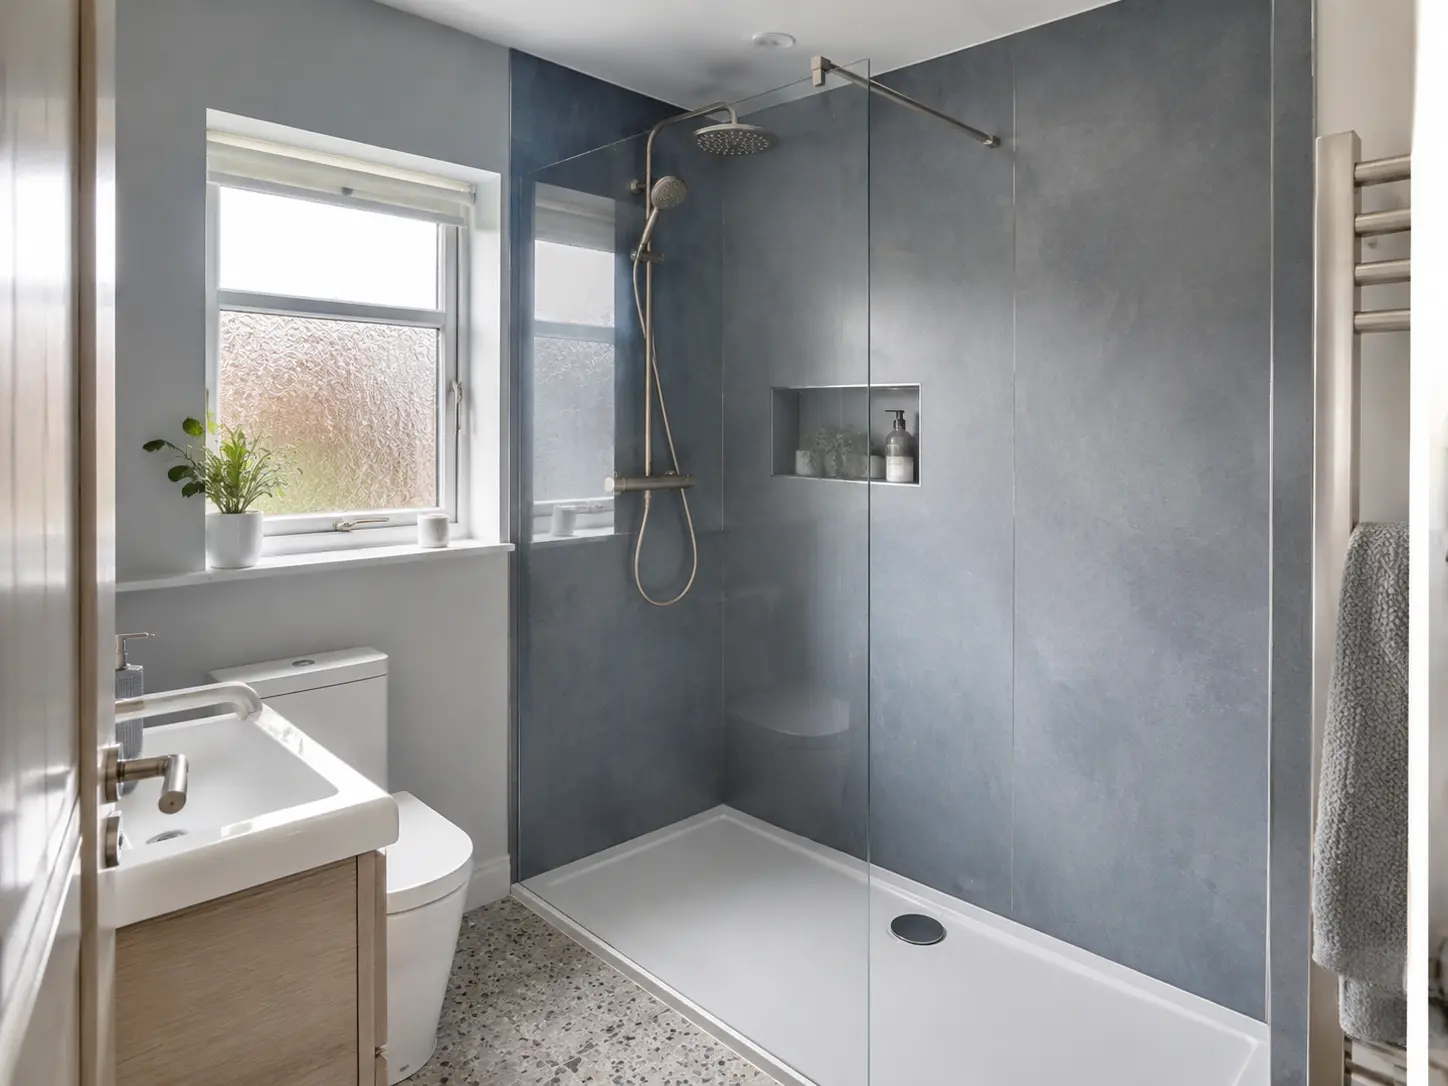
An open shower needs enough protection for nearby furniture, the toilet and the route to the door. The screen length and shower position influence where water lands. A more enclosed design may be practical where the room is tight or where an open shower would feel uncomfortable. Compare the proposed layout with how you actually shower rather than choosing the most open photograph. Panels protect the walls they cover, but they do not stop water reaching the rest of the floor or furniture outside the shower area.
For help with your room, see our Walk-In Showers with Wet Wall Panels service.
Plan panel joins around the fittings
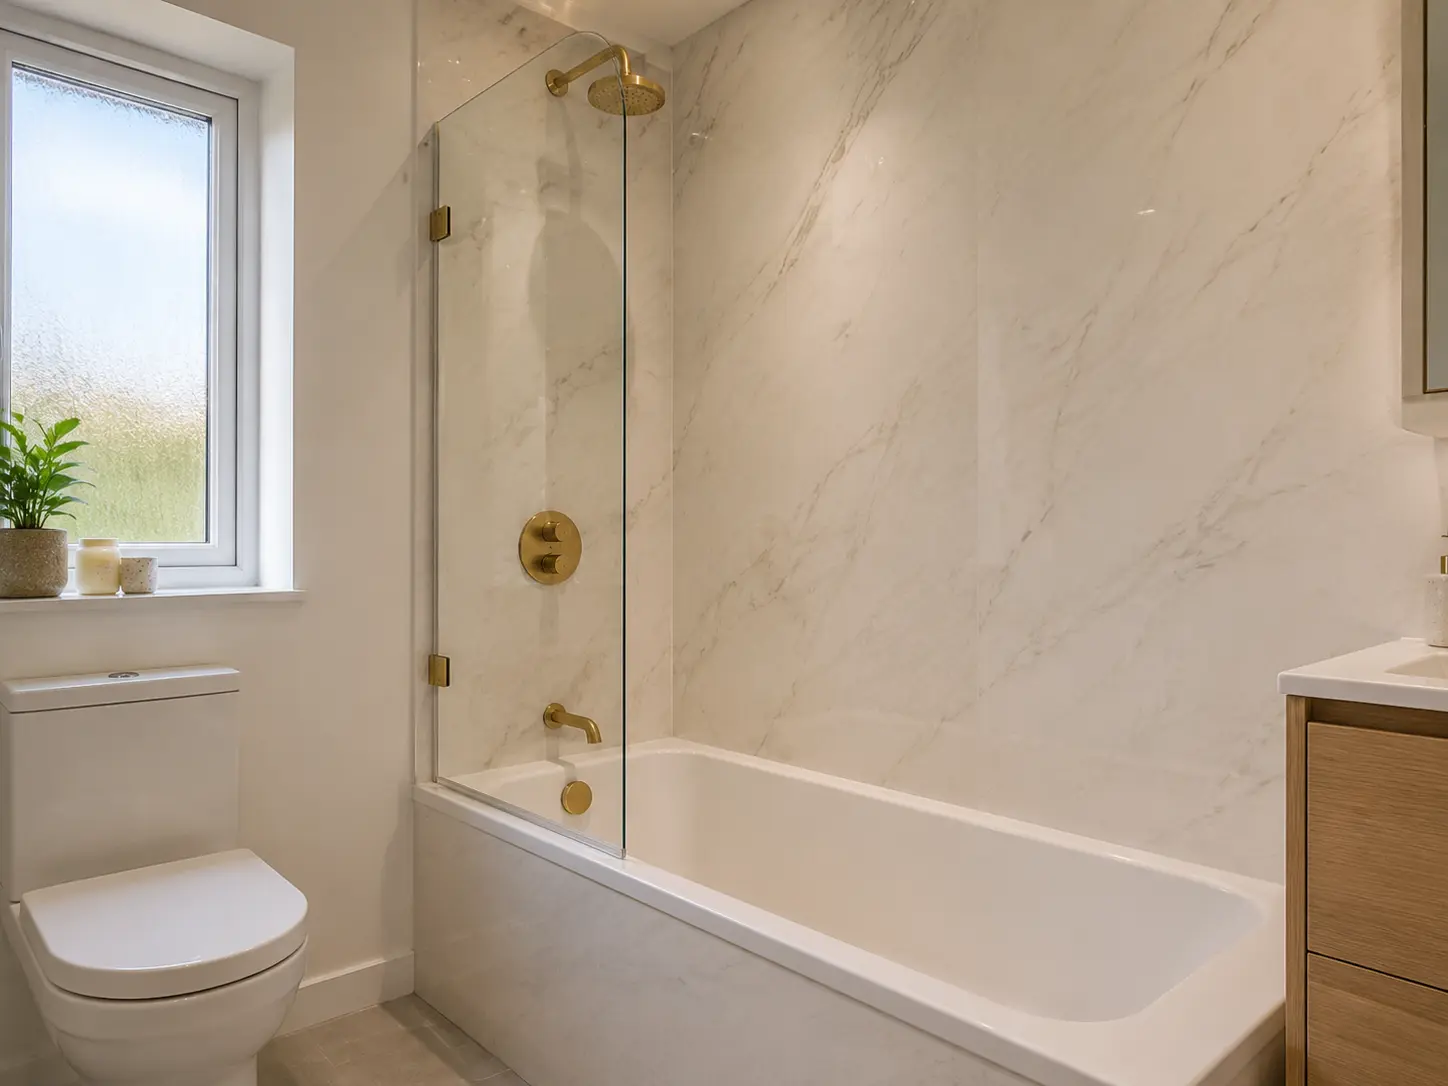
The board layout needs to account for shower controls, pipe openings, corners and the screen fixings. The exact panel system sets the requirements for joining and sealing. Ask the fitter to show where visible joins will fall, particularly with marble veins or a printed tile pattern. A full-board design may need adjusting around a narrow return wall or window. Keep the chosen controls and screen in the plan before cutting begins. Swapping products late can change the openings and the support required behind the wall finish.
Give bottles and towels a useful place
Storage should be reachable without obstructing the entrance or leaving bottles on the shower floor. A simple shelf may be enough; a shelf built into the wall needs suitable space in the wall and proper construction and sealing. Decide on these before fitting the panels. Think about where a dry towel will hang outside the main spray area and whether the user can reach it comfortably. Check that shelves and rails will be fixed securely using a method suitable for the installed panels and the structure behind them.
Discuss seating and support early
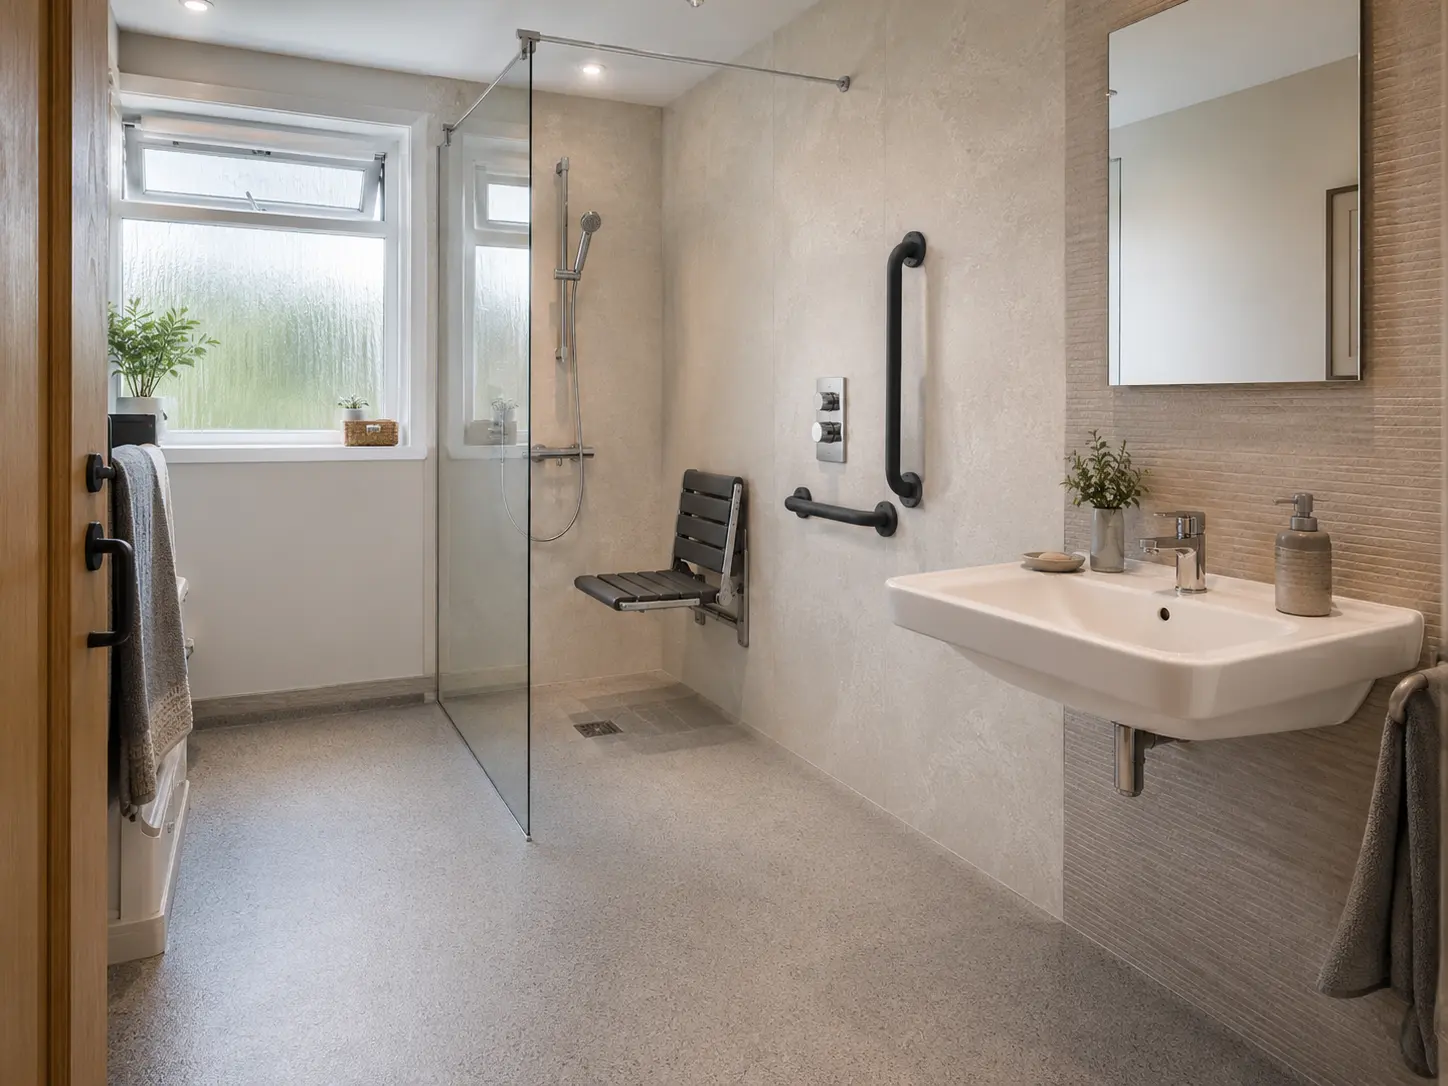
If a shower seat, rail or other support is needed, include it in the layout and preparation rather than adding it at the end. The position should suit the person using it, with appropriate professional advice where required. Fixings need suitable support behind the decorative finish. Consider the route from the bathroom door as well as the shower itself. A wider opening is useful only if the surrounding room can be used comfortably. Do not treat one photograph or a standard product package as an assessment of someone's individual needs.
Keep the finished shower easy to maintain
Ask how the drain can be cleaned and how concealed controls can be accessed for maintenance. Follow the panel cleaning guide and check visible seals during routine care. Screen edges and the lower wall connection need attention as well as the centre of each board. A loose fitting or changed joint should be reported rather than covered with another layer of sealant without checking the cause. Good ventilation remains necessary because a panelled shower still adds moisture to the room. Keep care information with the product details after fitting.
Request a quote for the whole shower area
For a Hamilton enquiry, describe the room, your postcode and whether the shower replaces a bath or an existing enclosure. Mention any entrance difficulty, leaks or support requirements. Ask the quote to include the base, drainage, wall preparation, panels, screen, controls and agreed storage. Confirm what happens to old fittings and waste, and when the shower can be used after sealing. A measured visit gives the installer the information needed to compare workable layouts before you commit to a particular tray, screen or wall pattern.